Buying Guides
Galley Kitchen Ideas: Get 1200mm Between the Two Runs

By the Hill & May team
Updated 2026
Almost every set of galley kitchen ideas you will find online is about finish: pale cabinets, a run of open shelving, a mirrored splashback, a clever pendant. None of that decides whether the room works. One number does, and it is the clear distance between the two facing runs. Get that right and a narrow kitchen can be the most efficient layout in the house. Get it wrong and no amount of paint colour rescues it, because you will spend the next fifteen years shuffling sideways past an open dishwasher door.
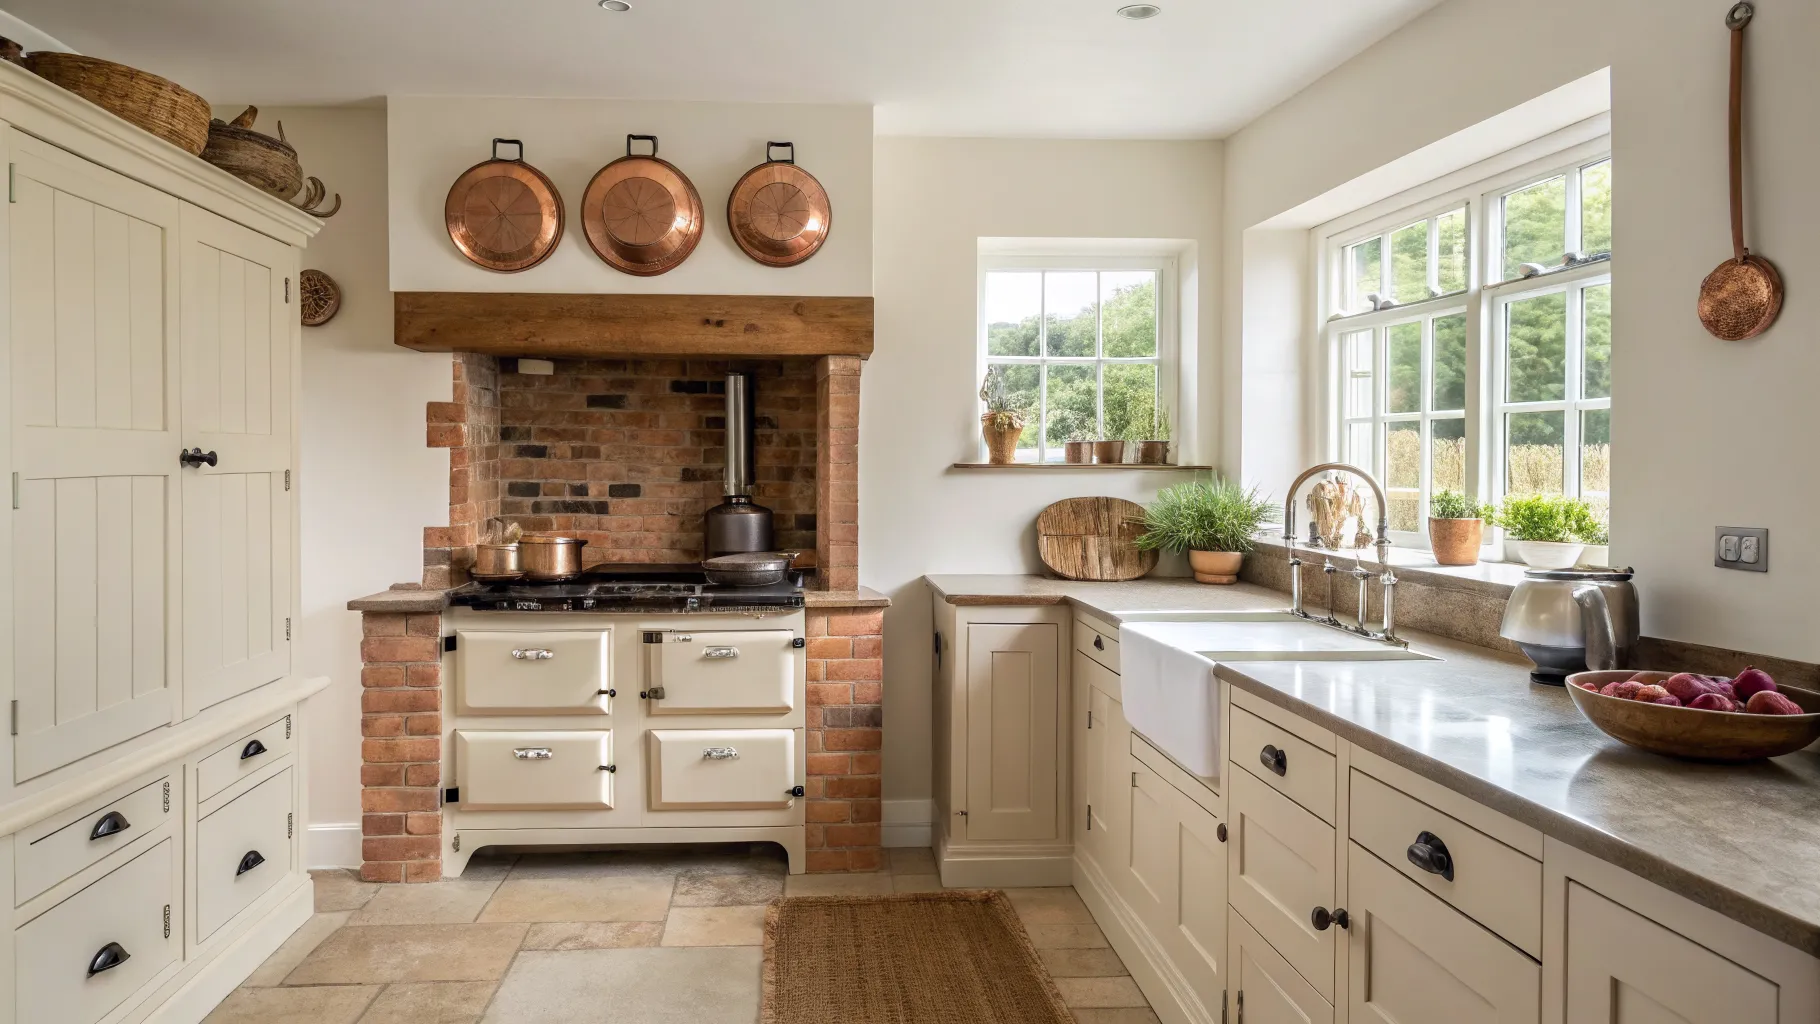
This page starts with the dimensions that are actually written down in British standards and manufacturer manuals, then works outwards to the design decisions those numbers permit. It is written with range cookers in mind, because a range in a galley is the single hardest thing to get right in a narrow room and the one most inspiration pages ignore entirely.
The gap between the runs
A galley is two parallel runs of units with a walkway between them. The walkway is not spare space, it is where every door, drawer and oven front swings into, and where you stand while cooking.
England’s Building Regulations put a floor under it. Approved Document M, in the section covering accessible and adaptable dwellings under M4(2), requires that “a minimum 1200mm clear space is provided in front of and between all kitchen units and appliances”, at paragraph 2.24. For wheelchair user dwellings under M4(3), paragraph 3.32 raises that to “a minimum clear access zone 1500mm wide in front of, and between, all kitchen units and appliances”. Both are quoted from the official Approved Document M Volume 1.
Those figures apply to new dwellings, not to a refit of your own Victorian terrace. Treat them as the profession’s own benchmark rather than a rule you must obey, and note what they imply about the room you are working with:
- Under 1000mm. One person only, and appliance doors will foul the opposite run. Workable if you accept the compromise, but you should be looking at a single run with a tall bank rather than two facing runs.
- 1000mm to 1200mm. One cook, comfortably. A second person can pass behind, but not while a dishwasher door is down.
- 1200mm to 1500mm. The sweet spot for a family galley. Doors open, someone can get past, and you can bend to a low oven without your back hitting the units behind.
- Over 1500mm. Two people can work back to back. Above about 1800mm the room stops behaving like a galley and starts feeling like a corridor with kitchens on either side, and you may be better off with an L-shape and a table.
Now the arithmetic that catches people out. A standard base unit is around 570mm deep with a 600mm worktop over it. Two facing runs therefore eat 1200mm of room width before you have a walkway at all. To land 1200mm of clear gap you need an internal room width of roughly 2400mm, or just under eight feet. Measure yours before you fall in love with any layout.
If you are short, the fix is not to shave the walkway. It is to reduce one run. Base units are available at 500mm and even 300mm depth, and a shallower run on the non-working side (fridge, tall storage, larder) buys you 100mm of walkway per side without costing you a single working surface. Our guide to kitchen base units covers the depths available.
The doors nobody measures
The clear gap is a static number. Kitchens are not static.
A dishwasher door drops to horizontal and projects roughly 600mm from the cabinet front. In a 1200mm walkway that leaves about 600mm, which is passable sideways and not much else. In a 1000mm walkway it leaves 400mm, which is not passable at all.
A single oven door in a tall housing swings out about 500mm. A range cooker’s doors are wider and heavier, and there is a further trap with them covered below.
A fridge door at 90 degrees projects the depth of the appliance, so 600mm or more, and many fridges need the door beyond 90 degrees before the salad drawers will clear the frame and pull out.
The design move that follows is simple and is the single most useful thing on this page: stagger the door-heavy appliances. Put the dishwasher on one run and the oven housing on the other, and put them at opposite ends. Then no two open doors ever meet, and the walkway only ever loses one door’s worth of width at a time. Almost every unhappy galley kitchen has the dishwasher directly opposite the oven.
Putting a range cooker in a galley
This is the part that separates a galley that works from one that gets ripped out. A range is a wide, heavy, hot appliance in a narrow room, and its manufacturer’s manual sets requirements that a standard kitchen plan will not automatically satisfy.
Taking Rangemaster’s own installation instructions for a 100cm model as the worked example, published on rangemaster.co.uk:
- Side clearance above hob level is 75mm up to a height of 410mm, reducible to 25mm only if the side wall surface is non-combustible.
- 650mm minimum between the top of the hob and any horizontal combustible surface above it.
- The corner rule. “If the cooker is near a corner of the kitchen, a clearance of 130mm is required to allow the oven doors to open.” Galley kitchens habitually put the range at the far end of a run against a return wall, which is exactly the situation this addresses. Plan 130mm of filler between the cooker and the return wall or the doors will not open properly, and you will find out on installation day.
- Do not box it in. It must be possible to pull the cooker out for cleaning and servicing.
- Heat resistance. Surfaces of furniture and walls at the sides and rear must be heat, splash and steam resistant. Rangemaster explicitly disclaims responsibility for materials that delaminate or discolour at less than 65 degrees above room temperature, which is a warning aimed squarely at cheap vinyl-wrapped and laminate doors.
The nominal aperture matters too. A 100cm range is not 1000mm of cabinetry: the appliance in this example is 994mm wide and the manual shows 5mm of clearance each side, so the gap you leave is 1004mm. Take the aperture from the manual for your specific model, not from the marketing name. The same logic applies at 90cm and 110cm, which we go through in the 90cm range cooker roundup and the 110cm roundup.
One more thing about a range in a galley: it puts all your heat, all your steam and all your spitting fat into a narrow room where the opposite run is only a metre away. Wipeable finishes on the facing run stop being a style choice.
Extraction is a legal requirement, not an accessory
Galley kitchens are frequently internal, formed in the middle of a terrace or in a side return, with one small window or none. That makes extraction the thing to design first rather than last.
Approved Document F 2021 sets the minimum intermittent extract rates for a kitchen, and they are worth knowing before you shop:
- 30 litres per second where a cooker hood extracts to the outside, with a note that the hood should span at least the full width of the cooker.
- 60 litres per second where there is no cooker hood, or the hood does not extract to the outside.
Both figures come from Table 1.1 of the Approved Document F Volume 1, 2021 edition. The document also states plainly that a recirculating cooker hood on its own does not provide a means of ventilation that complies with Part F, and sets hood height above the hob at between 650mm and 750mm where the manufacturer gives no figure.
Read those two rates together and the design consequence is obvious. Ducting a hood to outside halves the required extract rate and lets you use a quieter, smaller unit. In a galley that is normally achievable, because at least one of your two runs is against an external wall in most terraces. If you genuinely cannot duct, you need a separate mechanical extract fan to outside as well as the recirculating hood. Filter choice then matters more than usual, which we cover in cooker hood filters, and the units themselves in the cooker hood buying guide.
Where things go along the runs
The classic work triangle assumes three points spread around a room. In a galley there is no triangle, there is a line, and the useful model is a sequence rather than a shape.
Work along the run in the order the food does: store, wash, prepare, cook, serve. In practice that means:
Sink and dishwasher on the same run, adjacent, because they share the plumbing and because loading across a walkway with a wet plate is how floors get ruined. The sink is best under the window if there is one.
Hob or range on the other run, with worktop on both sides of it. This is non-negotiable and is where narrow galleys most often fail. You need somewhere to put a hot pan down without turning around. If you cannot get worktop on both sides, get it on the side you will naturally lift towards.
Fridge at one end, ideally near the entrance, so someone grabbing milk does not walk the length of the working area.
Tall storage at the ends, not the middle. A full-height unit in the middle of a run chops the worktop into two useless stubs. At the end it reads as a bookend.
Nothing in the corners. In a true galley there are no internal corners, which is a hidden advantage: you avoid the awkward carousel and magic corner units that waste space in an L-shape. If your run does turn a corner, see corner units for what actually works there.
Making it feel wider
Once the dimensions are settled, the visual decisions do real work in a narrow room.
Run the flooring the long way. Boards, planks or tiles laid along the length of the galley lengthen the room. Laid across it, they read as rungs on a ladder and chop it up.
Wall units on one side only. Two facing runs of wall cupboards at eye level is what makes a galley feel like a submarine. Wall units above the sink run, open shelving or nothing above the cooking run, is the arrangement that most often gets described as “it feels twice the size” after a refit.
Handleless or slim handles on at least one run. Protruding D-handles at hip height in a 1000mm walkway catch pockets, and you will notice it daily. In-frame versus handleless sets out the trade-off, which is real: handleless costs more and is harder to keep clean.
Light the worktop, not the ceiling. A single central pendant in a galley throws your own shadow onto the surface you are working on, because you stand between it and the counter. Under-cabinet lighting on both runs is the fix, and it is the cheapest significant improvement available. See the kitchen lighting guide.
Take the far end seriously. The end wall of a galley is the view from the rest of the house. A window, a tall larder, a dresser or simply a decent piece of art there stops the room reading as a dead end.
Continue the worktop up as the splashback on at least the cooking run. Fewer horizontal lines makes a narrow room calmer, and it removes the grout line at exactly the height where fat spits.
Is a galley the right layout at all?
Two honest cases against.
If your room is wide enough for a walkway over about 1800mm, the second run is probably costing you more in circulation than it earns in storage, and an L-shape with a table in the freed space will live better. Compare in L-shaped and U-shaped kitchen layouts.
If the galley is a through route to a garden door or a utility, every person crossing it walks through the working area. That is tolerable in a household of two and miserable in a household of five. In that situation, keep the cooking run on the side away from the traffic line and accept a single-run kitchen with a tall bank opposite.
Otherwise, a galley is genuinely efficient. Everything is within a pace, nothing is in a corner, and the run lengths are short enough that a good worktop material stops being unaffordable. Set the gap, stagger the doors, duct the hood, and the ideas everyone else leads with will look after themselves. Our kitchen layout guide puts it alongside the other options, and small kitchen design covers the storage tactics that apply once the plan is fixed.
Frequently asked questions
What is the minimum width for a galley kitchen? Two facing runs of standard units take about 1200mm of room width before any walkway, so an internal room width of about 2400mm gives you the 1200mm clear gap that Approved Document M sets for accessible and adaptable dwellings. Below roughly 2200mm you should consider a shallower 500mm run on one side, or a single run with tall storage opposite.
How wide should the gap between galley kitchen units be? 1200mm is the sensible working minimum and 1500mm is comfortable for two people. Approved Document M requires 1200mm for M4(2) dwellings and 1500mm for M4(3) wheelchair user dwellings. Below 1000mm an open dishwasher door blocks the walkway completely.
Can you put a range cooker in a galley kitchen? Yes, but check three things in the manufacturer’s manual first: the actual aperture width including side clearances, the 650mm minimum to any combustible surface above the hob, and the corner allowance. Rangemaster specifies 130mm between the cooker and a return wall so the oven doors can open, which matters because galleys usually put the range at the end of a run.
Do galley kitchens need wall units on both sides? No, and most galleys look and feel better without them. Wall cupboards on the sink run and open shelving or nothing above the cooking run keeps eye level clear on one side, which is what stops a narrow room feeling enclosed.
What extraction do I need in a galley kitchen? Approved Document F requires a minimum intermittent extract rate of 30 litres per second where a cooker hood extracts to the outside, or 60 litres per second where there is no hood or it does not extract outside. A recirculating hood on its own does not comply, so if you cannot duct you also need a separate extract fan to outside.
Where should the dishwasher go in a galley kitchen? Next to the sink on the same run, and at the opposite end of the kitchen from the oven housing. Both doors project around 500mm to 600mm into the walkway, so keeping them on different runs and at different ends means you never lose the walkway to two open doors at once.